I can do it for you but I live in Switzerland and the shipping and forwarding fees are huge. Think about it.
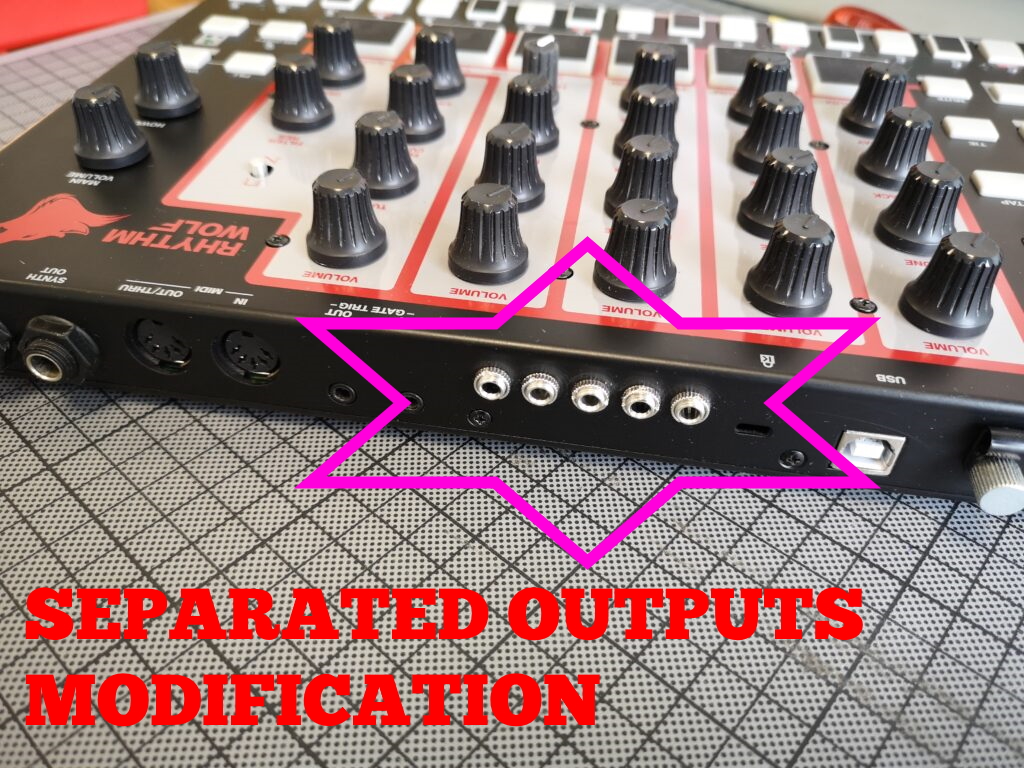
Many people think this drum machine is crappy.
I do not agree ! It has a lot of flaws, but it has a lot of qualities too.
- It is a tank (exepted the fake plastic cheeks)
- It is very easy and intuitive to use, especially the sequencer
- Snare and percussion are different from other drum machines
- She has a fairly typical analog sound
- His bass is … not in tune but interesting. And it’s a real plus!
- It has an input / output trigger jack 3.5mm (ideal for Eurorack stuffs)
I decide to open it to see what I can do.
Well, we must remove the 24 buttons and 40 screws but once done it’s easy.
You have to remove the power + MIDI PCB and the small PCB from the audio output
nb: Do not forget the two plastic nuts of 6.3mm audio output jack on the back
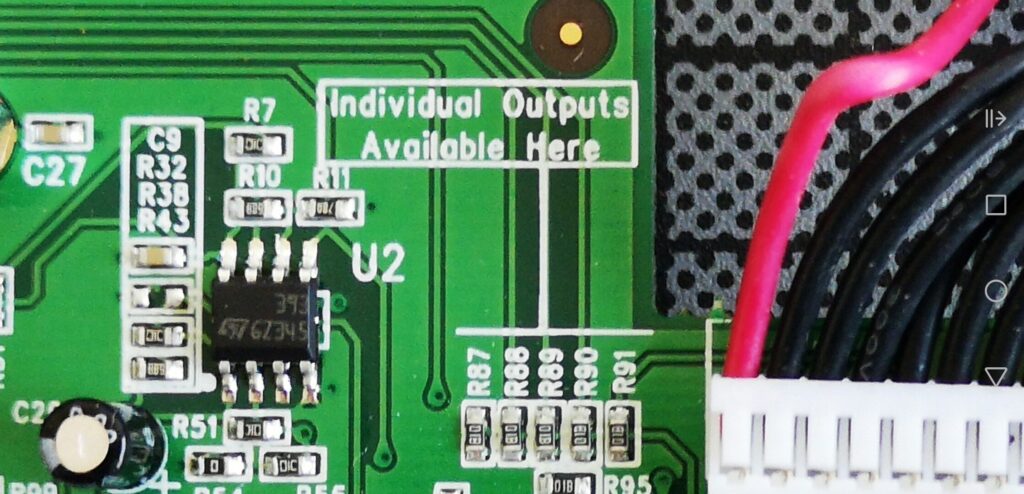
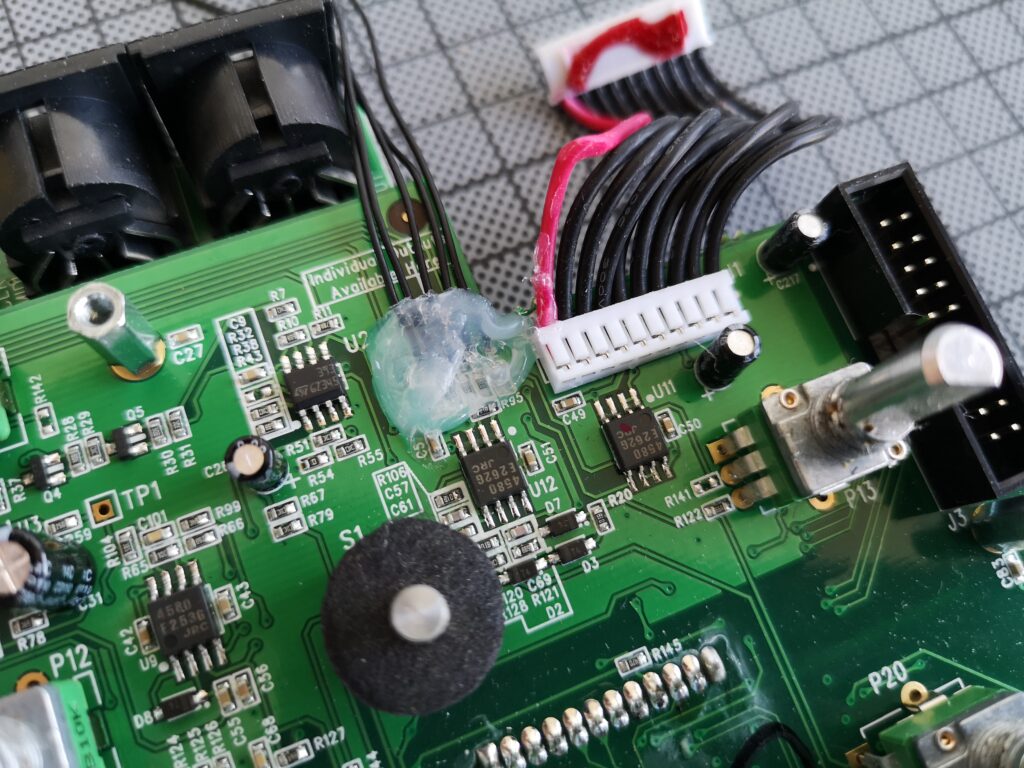
Right away I see this serigraphy: “Indivudual outputs available here”.
Thank you Akai, awesome! Since the kick is too weak and the “Howl” knob makes it all rotten, the separate outputs will make it sexier 😉
I know, I know, at the same time I did research and this modification is well known. But mine is better documented!
After performing tests, these outputs are pre “Howl” so it’s quite interesting to possibly have a separate clean mix and add the final mix with “Howl” in parallel
The correspondences are:
R87 = Percu || R88 = Hi-Hat || R89 = Snare || R90 = Kick || R91 = Bass
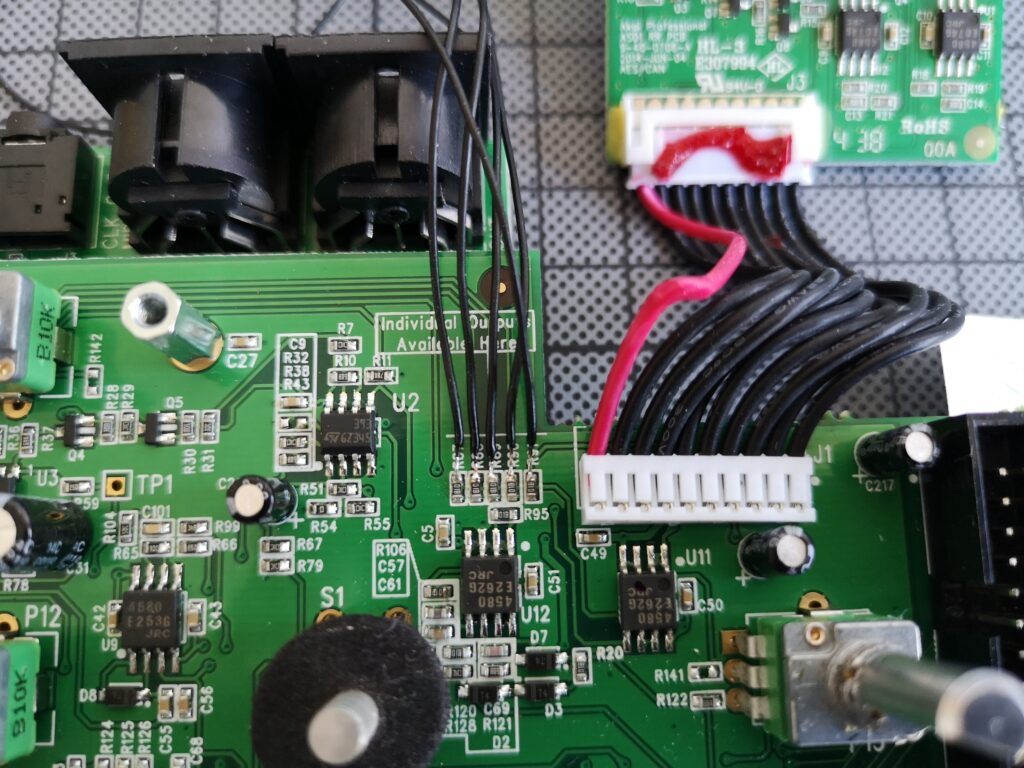
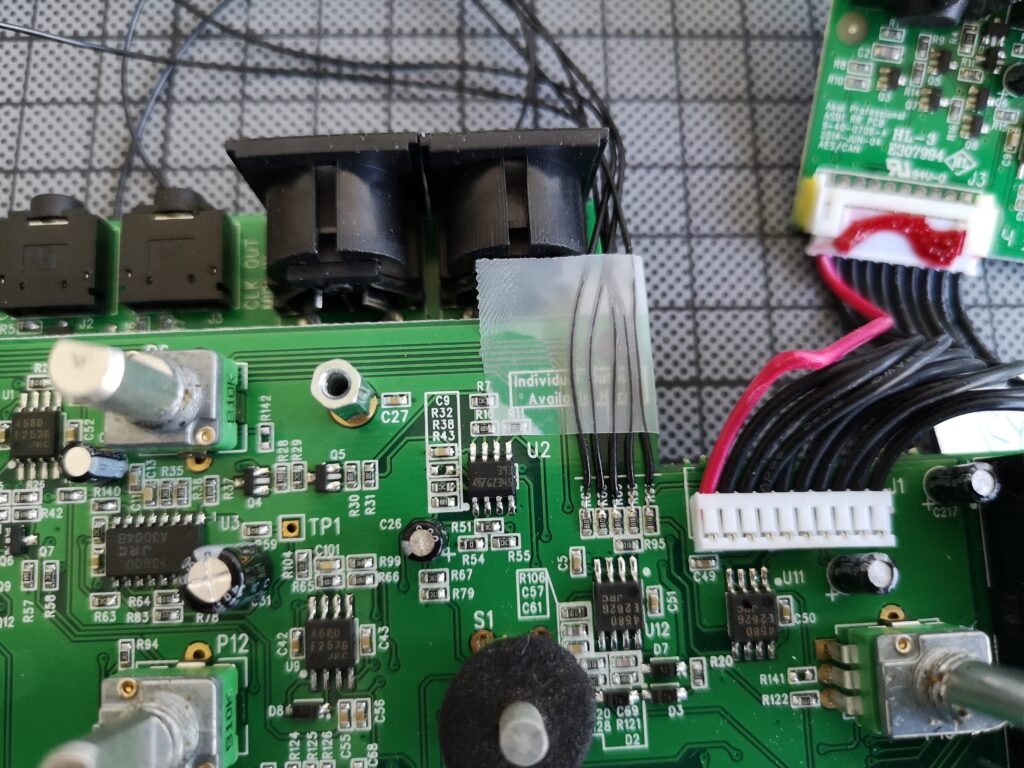
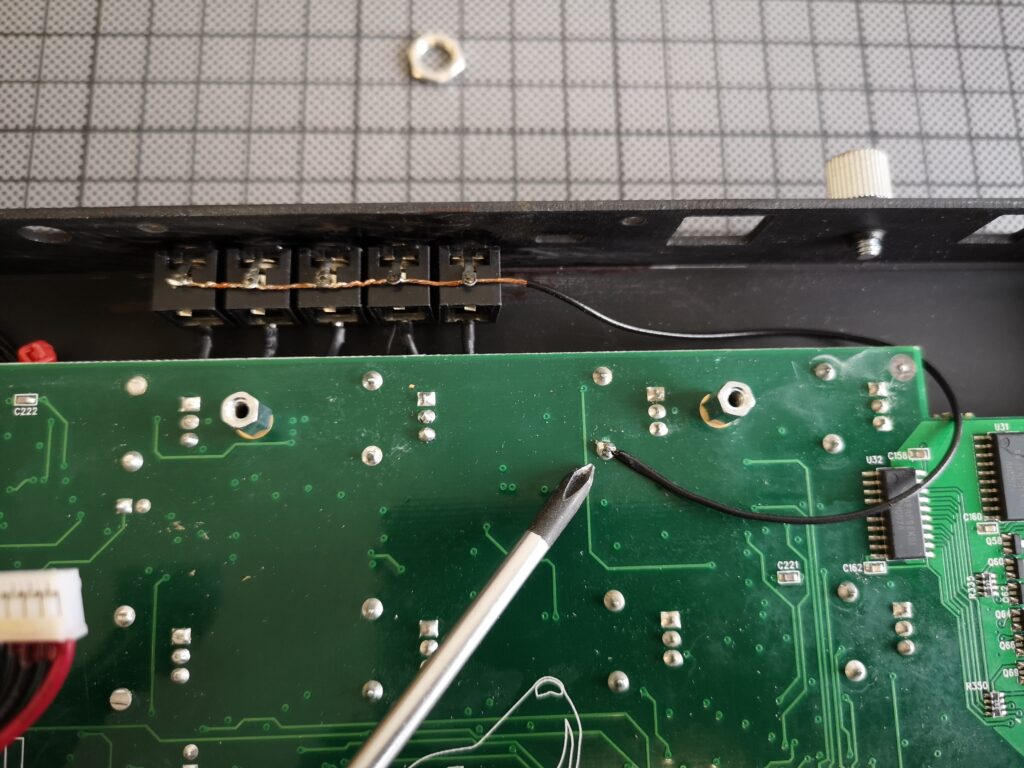
It remains for me to solder five wire (very thin) taking care to stick them after because the solder is very small. The hot glue is perfect for that.
It is necessary to weld the end of the wire on the screen side of the resistors R87 to R91
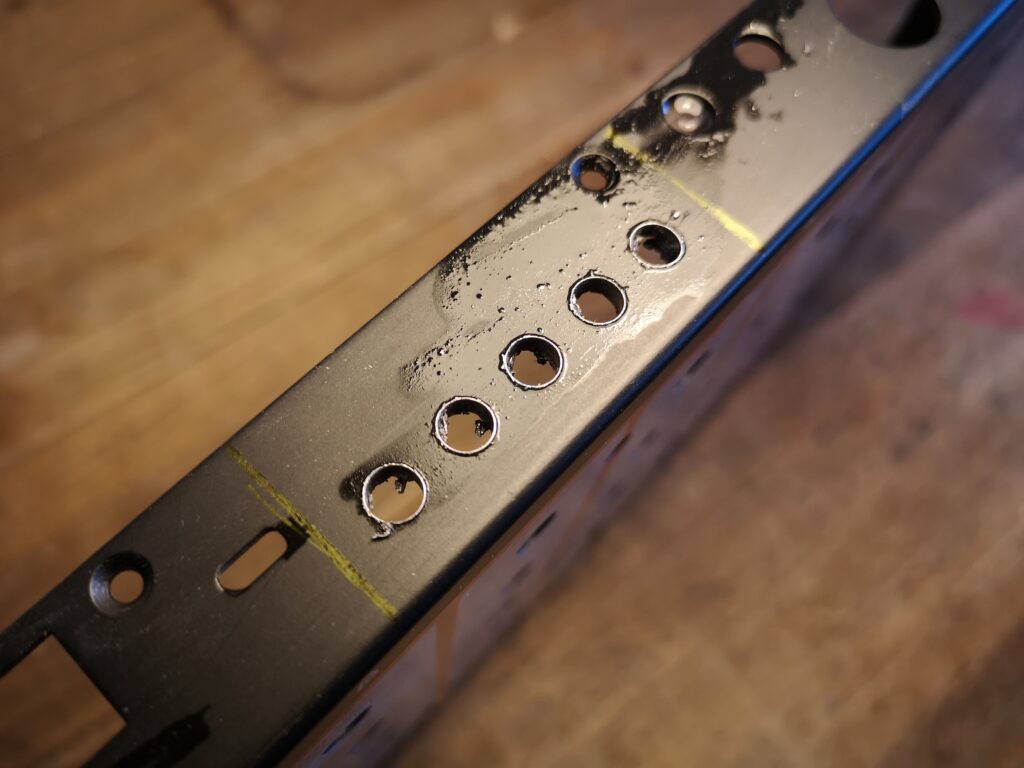
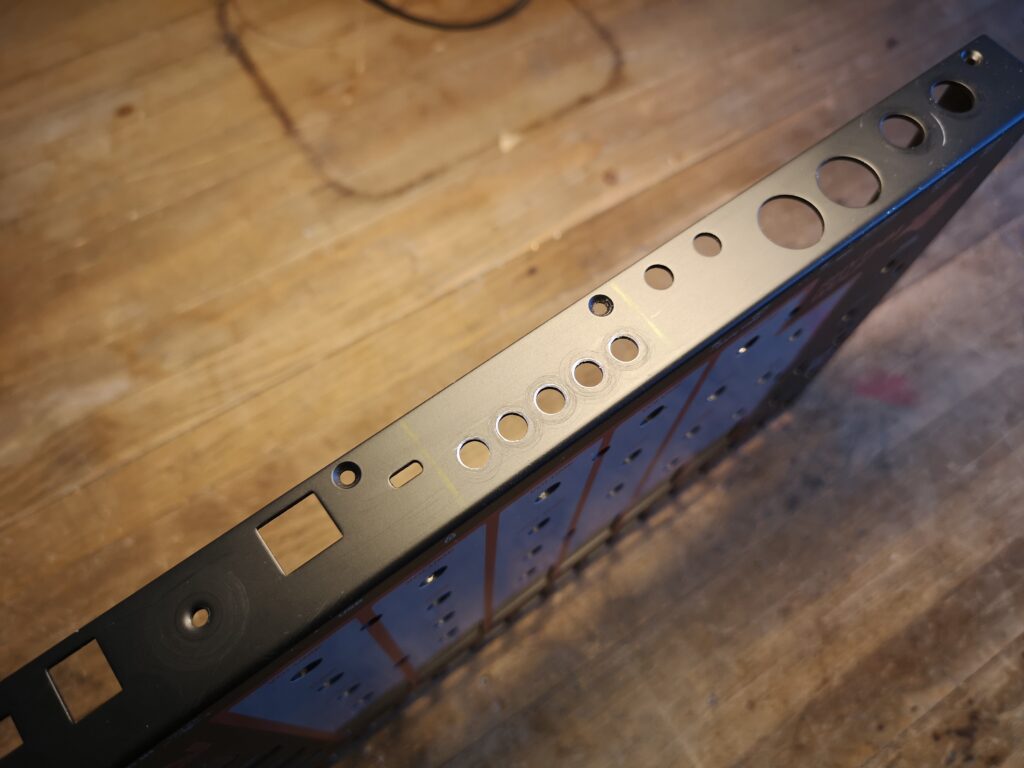
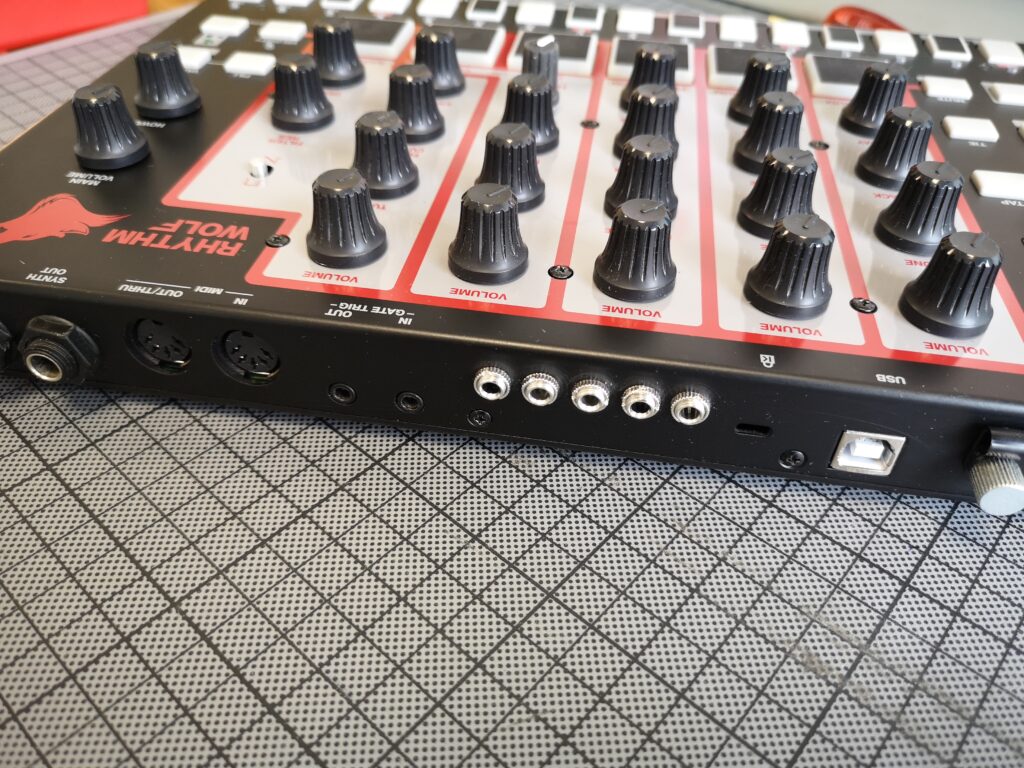
ok, we are ready now to drill the holes of the 5 mono 3.5mm jacks.
Be careful where to position them. there is not much room. I had thought of first on the face (under the volume button) but there is not the necessary depth. I then opted for the space between the kesington lock hole and the trigger outputs.
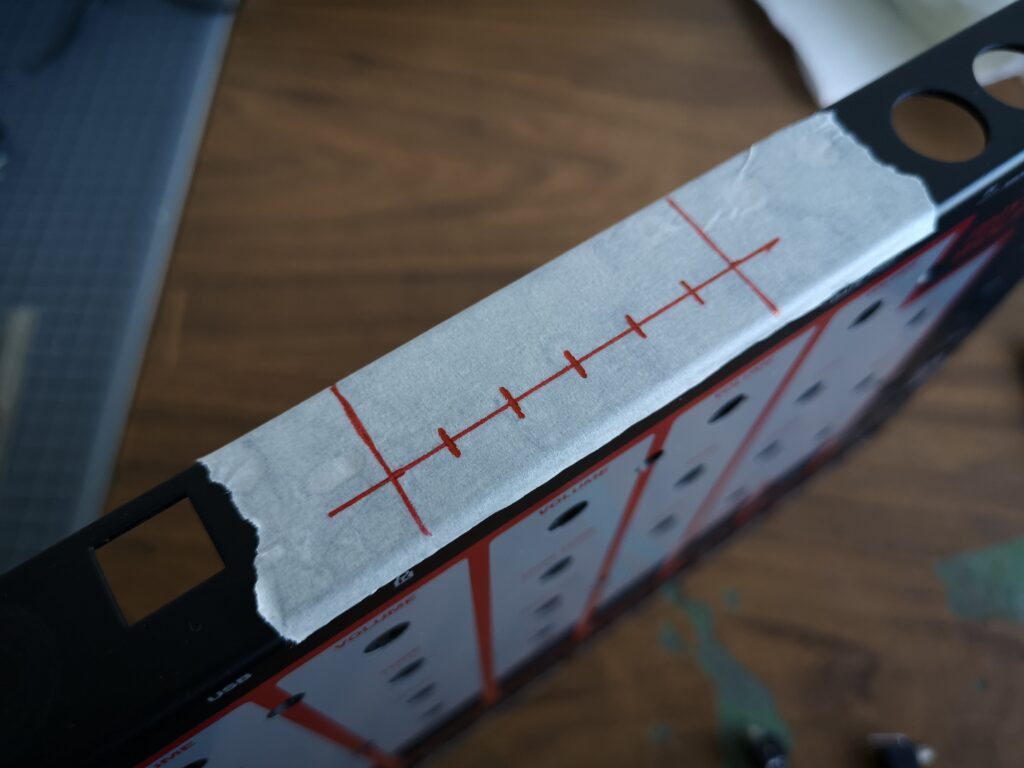
Five holes 5.8mm spaced 10mm each (you can leave a little more, like 12mm or 13mm) all 10mm from the top edge.
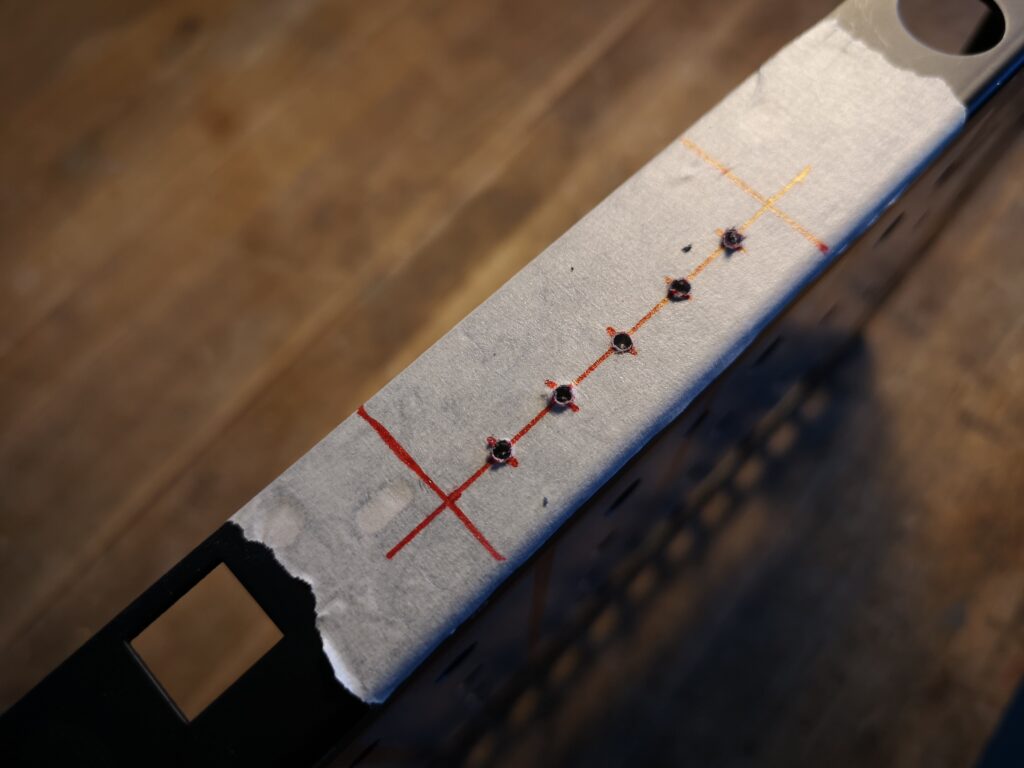
Remember to measure, draw, point and lubricate if you want beautiful holes!
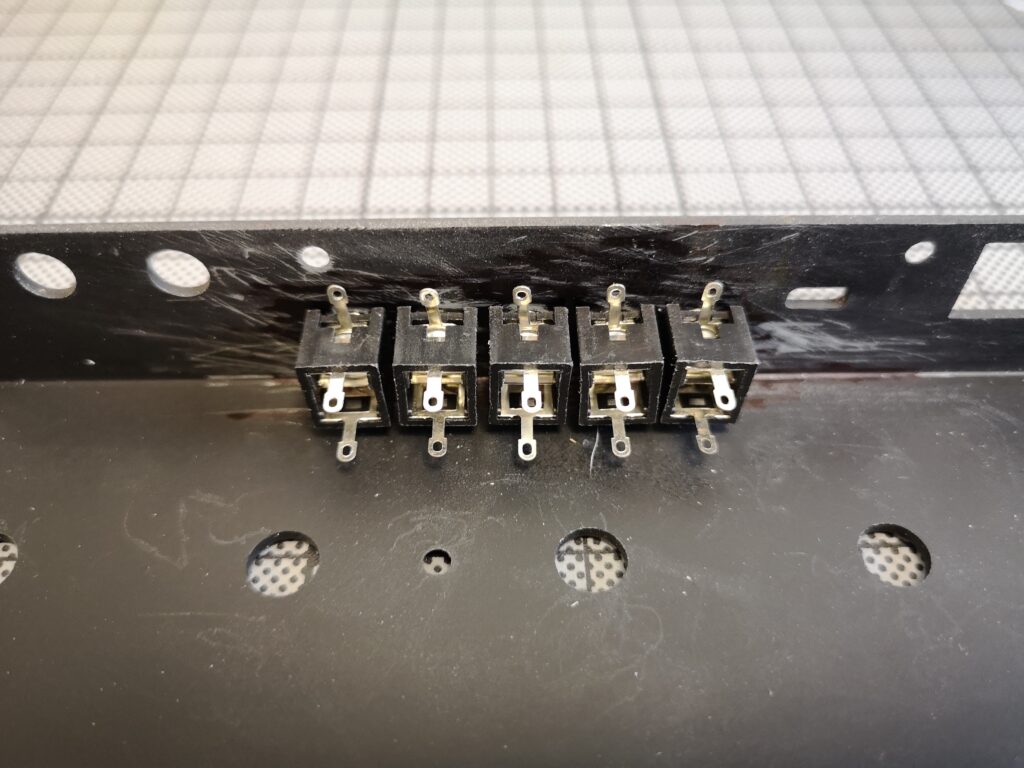
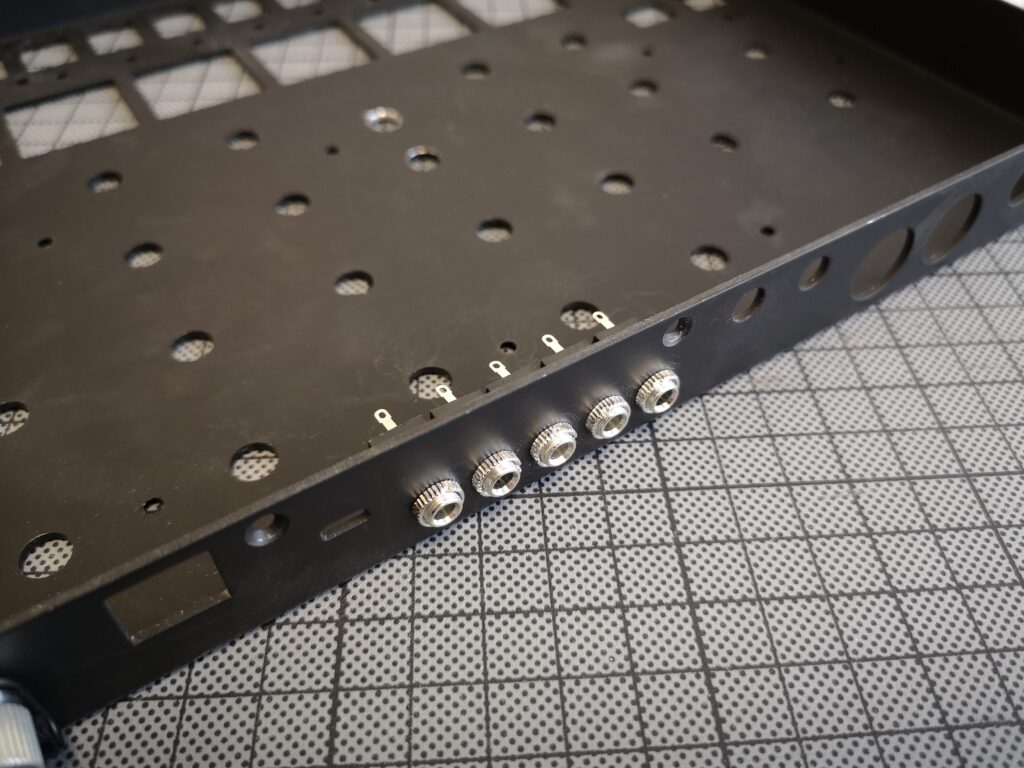
It only remains to solder the five wires to the five jacks and then fix them on the chassis. Attention, it is very important to connect all ground together and then to the nearest grounded point on the PCB hand or even the chassis.

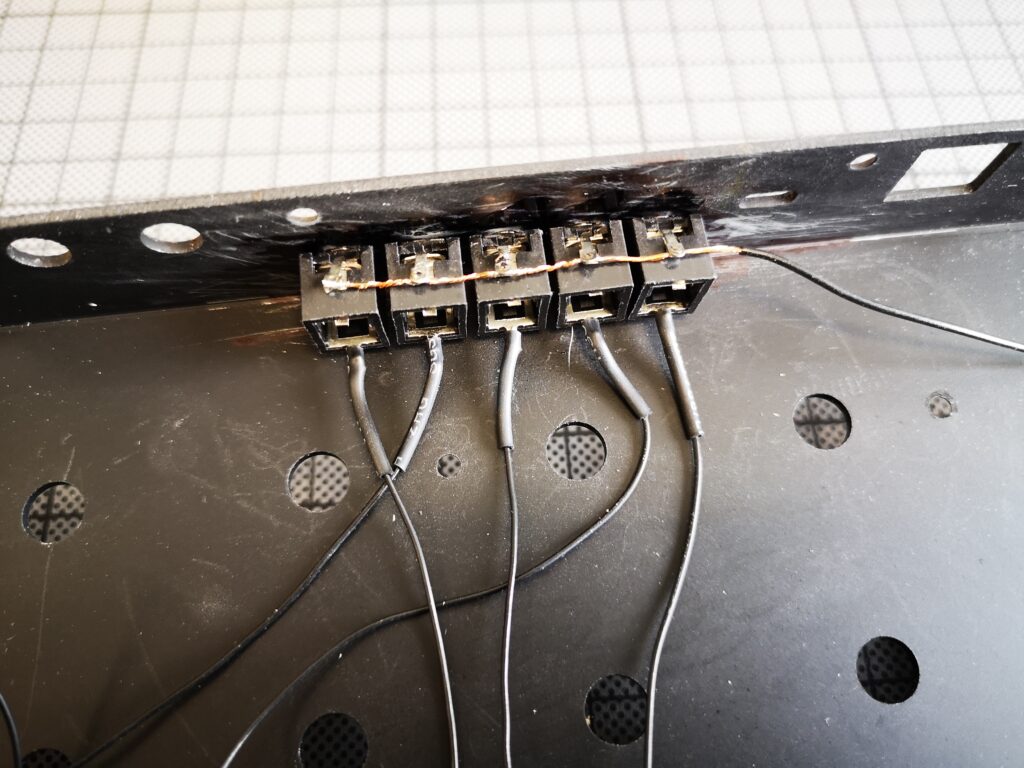
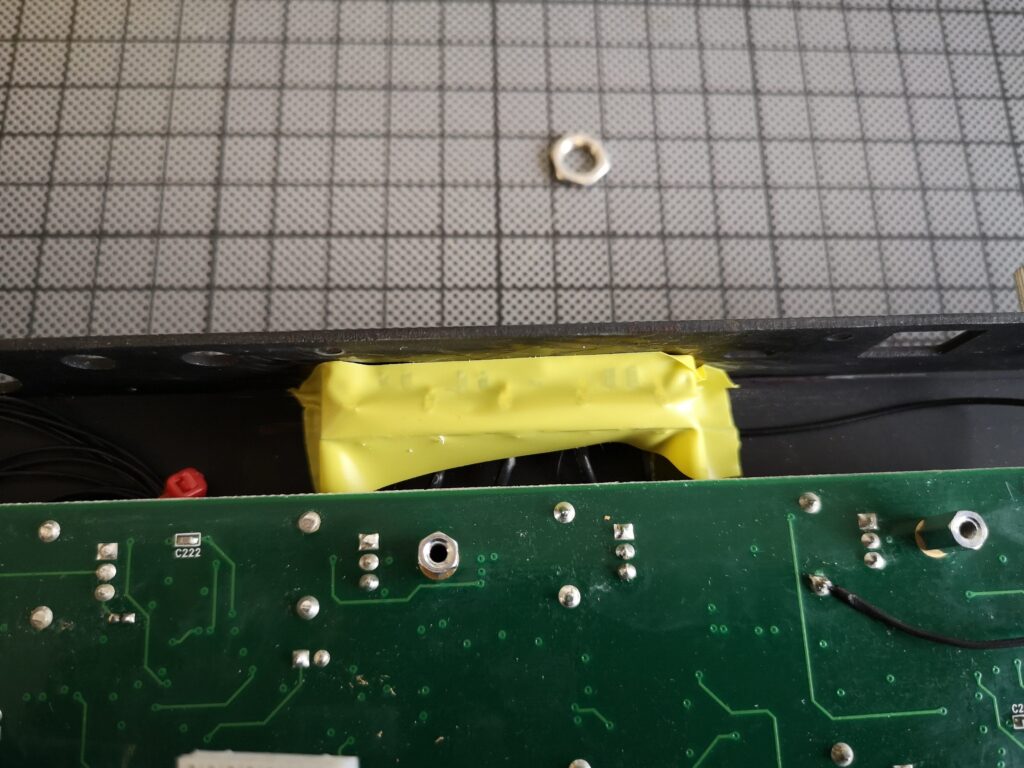
When all this is done you must still isolate the top with an adhesive tape because the power PCB is placed just above.
Reconnect and reassemble everything, but before closing completely, you can relight the beast and test that the outputs work well. If so, congratulations! Your female wolf now has five more teats: D
NB: I took the opportunity to modify the separate decay for the open hat. See the tutorial here: http://noiseembedded.blogspot.com/2017/03/sunday-soldefing-akai-rhythm-wolf-drum.html